My handmade

Christmas Stocking - Free Pattern!

After I made three quilted stockings and hung them on my family room fireplace, I wanted a smaller and quicker-to-make version. To save time, fusible batting/fleece was used this time. Also, I had some small amount of faux fur trims from Mokuba for several years already, and finally they found their purpose! The trims really bring some wintry and Christmassy accents to the stockings! Lovely! Nordic themed Christmas fabrics were used for the body. The red piece is Folk Art Holiday by Gina martin and the green piece is North Woods by Kate Spain. 

To celebrate Christmas, I made these stockings a free pattern! Enjoy!

Merry Christmas and Happy New Year! I wish you a prosperous and cheerful 2018. I will keep my hands and sewing machines busy, de-stashing my fabrics and fibers as much as possible!

Stockings, Socks and Baby Booties

Stockings for Christmas. Tried not so Christmas-y fabrics, not bad. But I think I can make them better. 

Socks for me. My favorite Wendy's basic toe-up pattern. 

Baby booties for a friend's newborn. Based on a Debbie Bliss pattern but used finer yarn (hence more stitches and rows). 

Holidays are coming, and I will keep my hands busy for more home decors, gifts and to keep myself warm!

Cushions and More

I have always wanted lots of cushions in the living room. And I wanted the cushions made with invisible zippers. Now I have the Bernina invisible zipper foot and lots of cotton-linen medium weight prints. Hence no more procrastination!

In the past two weeks or so I made 13 cushions! And more are under construction!

That visible line of zigzag stitches BUGGGGGs me!

This is the first pair of cushions made. The fabric is Rifle Paper Co.'s “Les Fleurs” collection in Rosa from Cotton and Steel, a beautiful medium weight cotton-linen blend. I love its chic, Bohemian, unconventionally vintage floral look! It's more expensive than typical quilting cotton, so I purchased only a meter from our local fabric store, the "Workroom". I had just enough fabric to make two 18" cushions! At that time I was still learning and experimenting with invisible zipper installation. To make the zipper stop spot stronger, I zigzagged each end but displeased with the "visible" outcome.

Improve my technique...

Now it's much better!

On my next pair of cushion construction, the technique was improved that the zigzag stitches were only sewn on the zipper itself -- a much better result!

Matching table runner

Also purchased from the Workroom, this print by Lecien is from a Yoko Seito collection called “Etoffe Imprevue”. Again I had just a meter of fabrics. With careful cutting, and using a solid color linen fabric for the backs, I was able to make two 20" cushions and a short table runner. 

After four cushions, my love for cushion making exploded, so I went to IKEA and Chapters-Indigo to purchase 12 more pillow inserts!!! Looks what I have accomplished! The little 16" cushion is for my Eames shell chair, with fabric purchased from Nunoya in Barcelona this October. The yellow-linen cushion cover fabric is also from Nunoya. Both are by Echino (Etsuko Furuya the “Hill” print and the “ni-co Sign” print, respectively). The two light blue, 20" cushions covers are made with fabric from Suzuko Koseki the “Writers Series” collection by Yuwa.

Some of the prints are light-to-medium weight, which I interfaced with either cotton flannel or cotton twill. All raw edges are overlocked.  Since these are more expensive fabrics, for the back side, I used mostly cotton duck canvas from IKEA. 

The last four cushions are for my parent's house:

Dwell Studio the Vintage Blossom Sluc print in Citrine, 20" cushions

Liberty home-dec weight cotton sateen, purchased in Swany, Japan last year, 18" cushions

And finally, an apron for MIL. I love this print purchased in Nippori fabric town in Tokyo. I had just enough fabric for one apron. It's been washed several times but still holds up its shape pretty well. Definitively better quality than what I can find here in Fabricland.  

The Ultimate Travel Bag

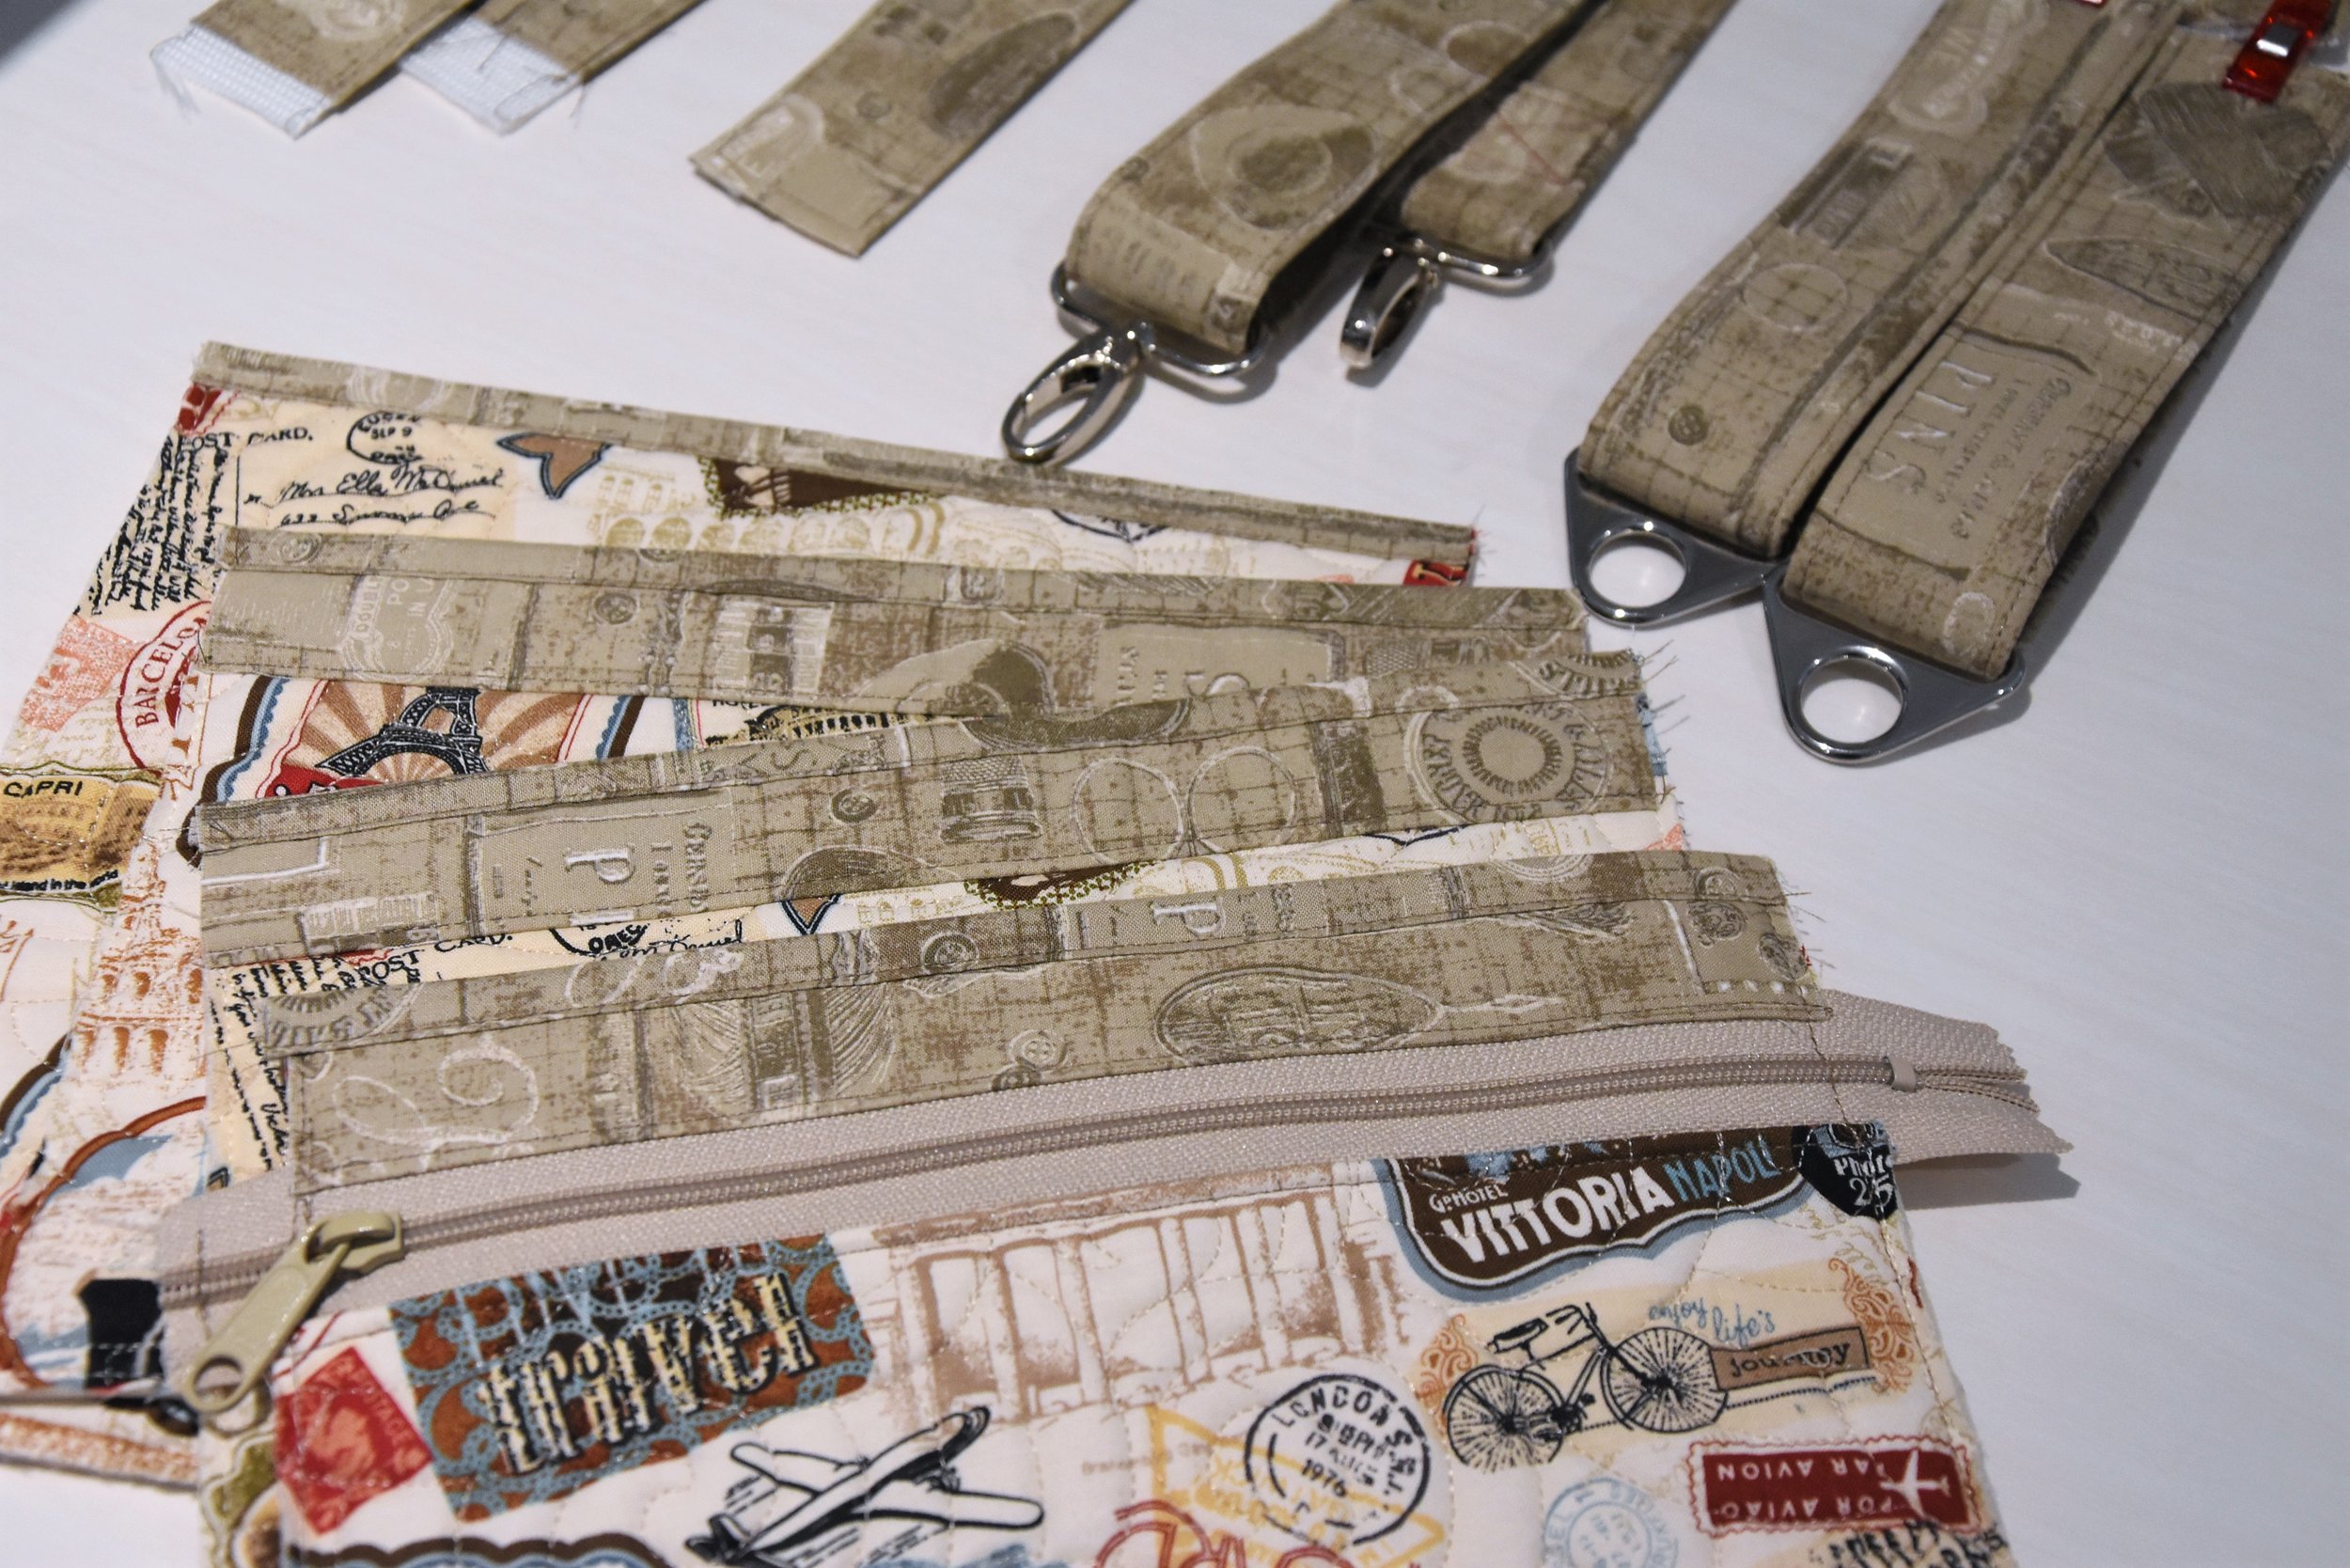
Annie's Ultimate Travel Bag class is one of my favorites on Crafsty. To make my own, I purchased a finishing kit from her site (including the base stabilizer) and ordered Soft and Stable foam from Amazon. 

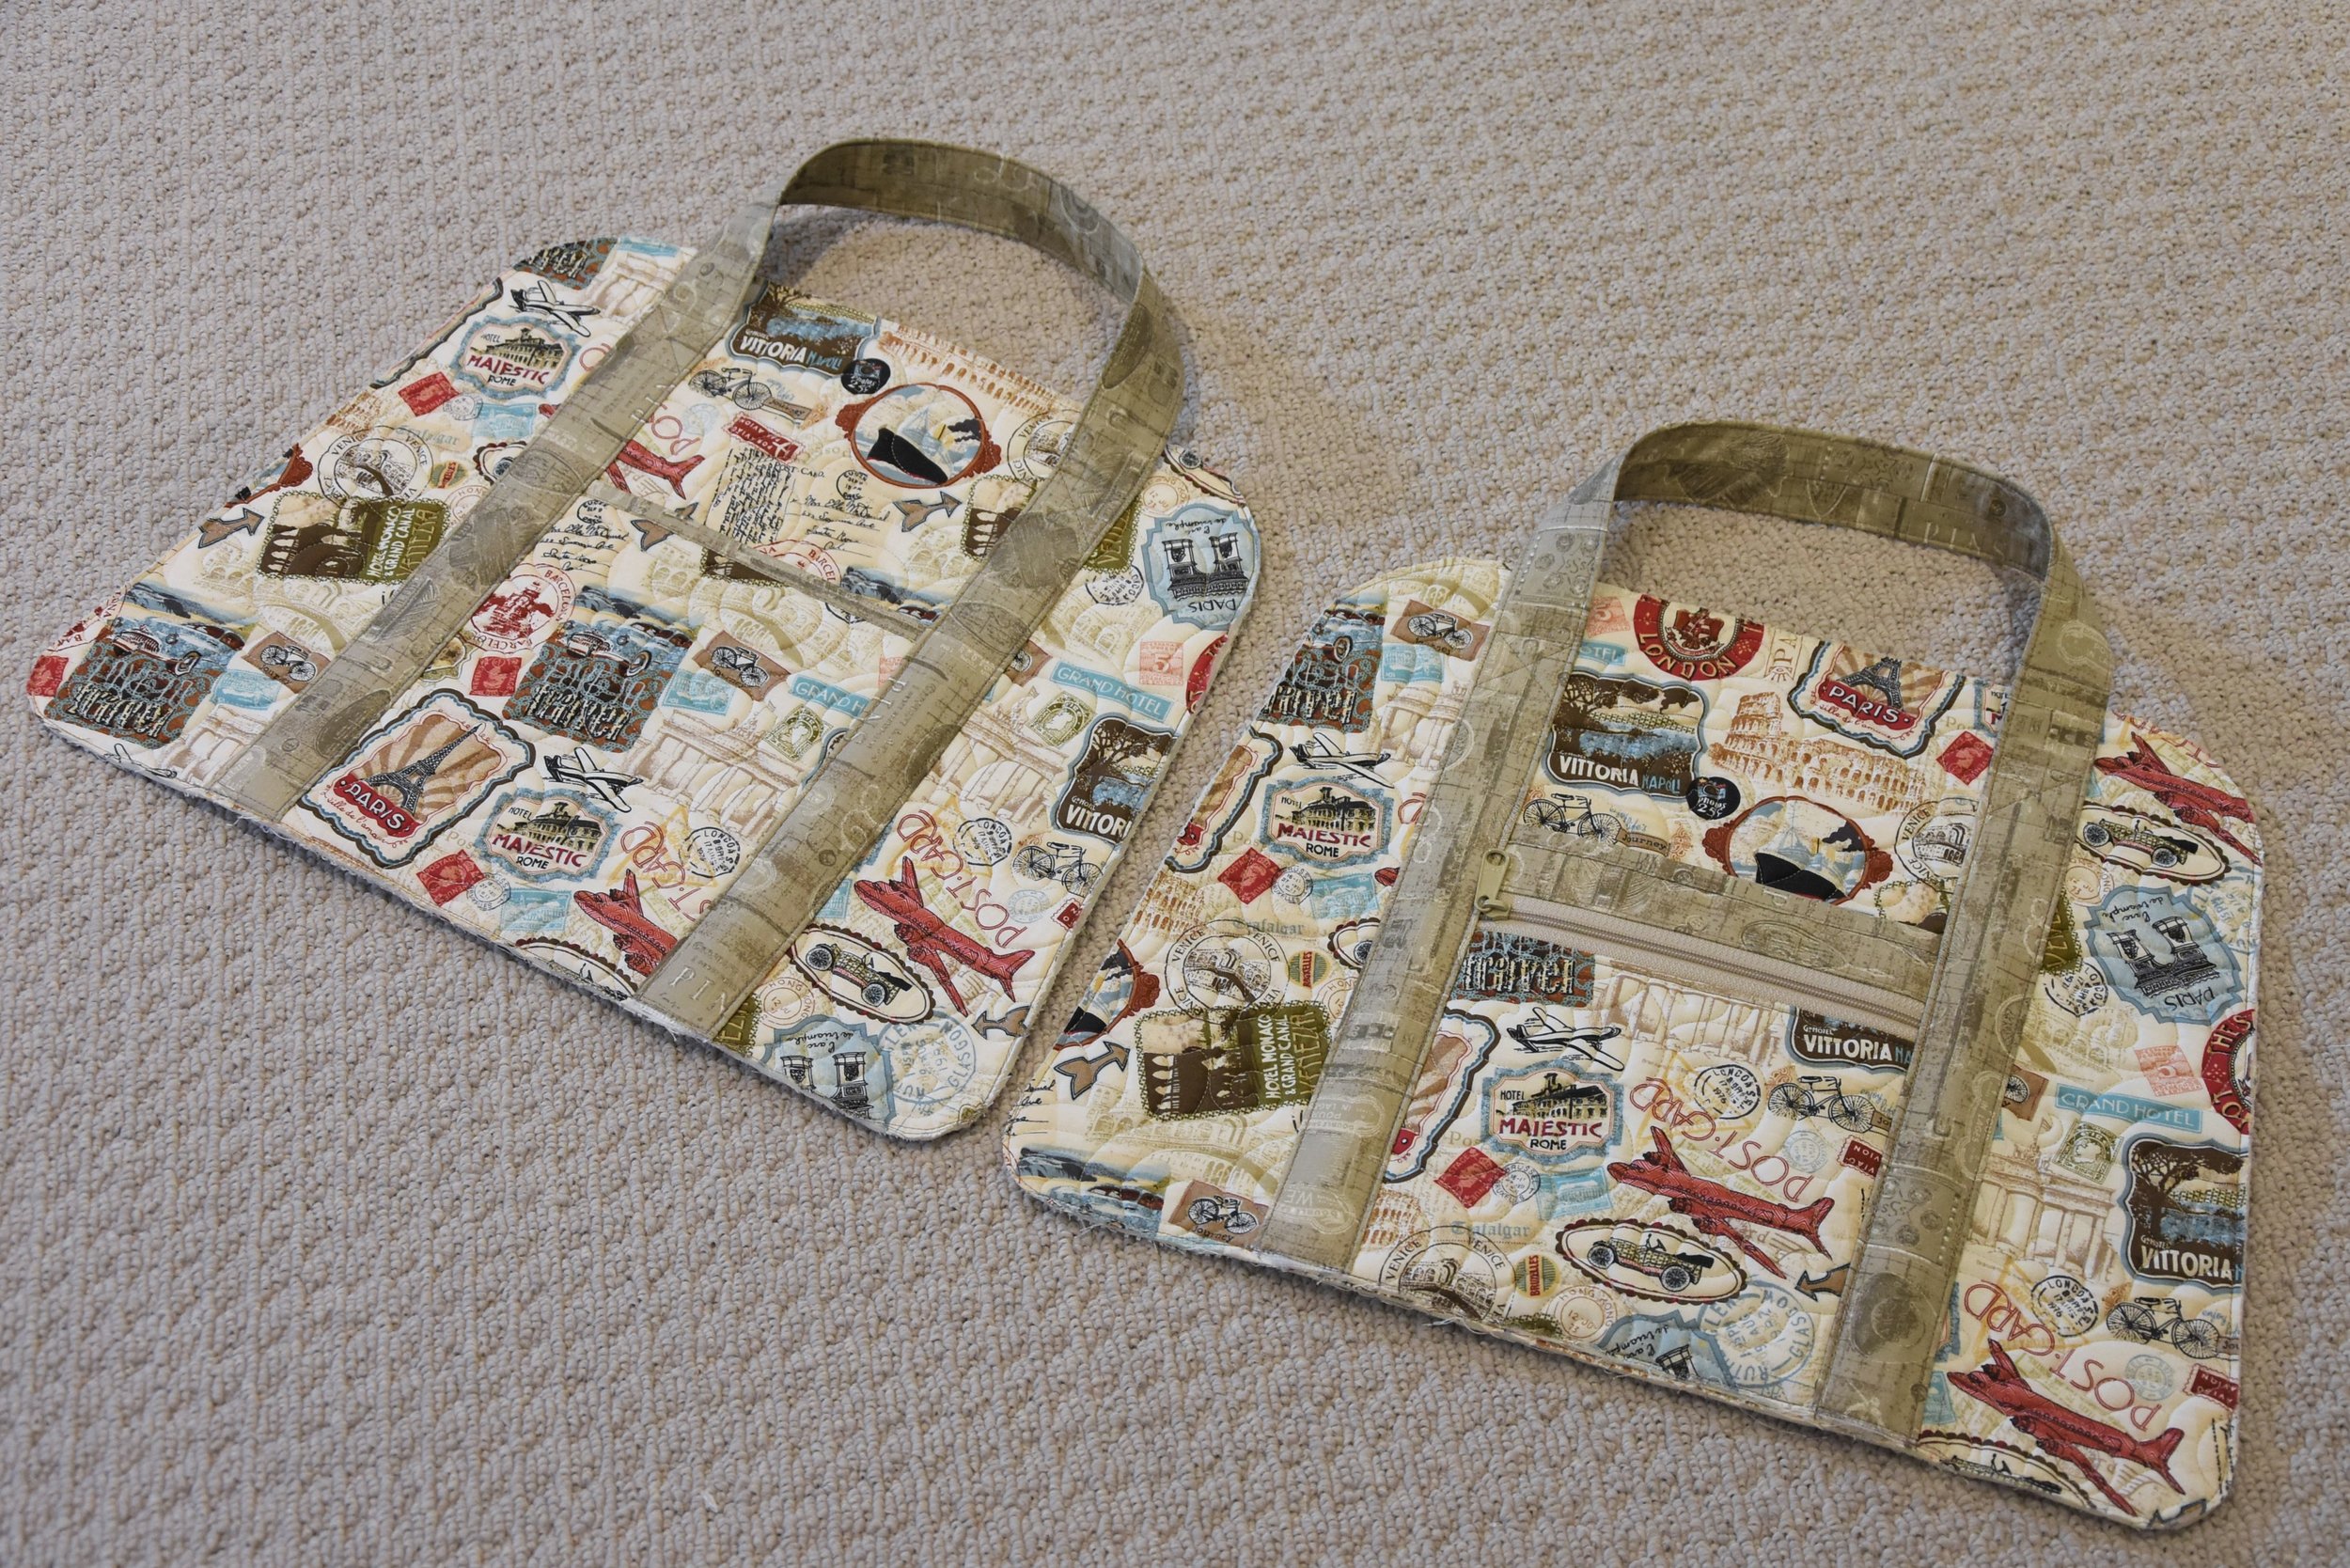
Face fabric is Northcott Fabrics the Passport line, coordinated with Daiwabo Vintage Dry Goods-Antique Dry Notions. Not a huge fan of the Passport line (I found the prints too busy for quilts) and I love the coordinating fabric so much that I orders 3 yrs from the Workroom when it's on sale. There is 1.5 yrs left for me to make another one! Lining fabric is from the Downton Abbey collection by Andover Fabrics. I found Andover's quilting cotton is slightly thicker and very high quality, love it!

I followed Annie's pattern and instructions meticulously from start to finish. The only thing I ended up not putting on is the strap from suitcase because I don't think I will use the bag that way and rather have a clean looking back panel. 

To make this bag, 4.5 yds of fabrics were used! Unbelievable! But it's so nice to consume my old stash... and make room for new fabrics!

I did the quilting on my Q20. It's a simple swirl design, quite large in scale to conform with Annie's 1 inch spacing quilting suggestion. 

I learned so much from this project: sewing buttons with machine, binding finishes, applying zippers, and so many little tricks and tips. It's so much fun! Though I much admit that the last step of binding to finish the interior is difficult, partly due to its large size. In the end, I found if I baste the binding strip to the side panel or the front/back panel with a scant 1/4" seam, sew the panels together with true 1/4" seam and then finish the binding, it's easier than sewing the panels together and then finish with binding.

The only unfortunate result is that my handles are two inches too short from the pattern suggestion (I trimmed too much selvages I guess). Lesson learned. I will double check my dimensions next time. 

Since there are still some Soft and Stable left, I pulled out a very old pattern (got it in 2008, the very original Weekender Bag by Amy Butler!) from my storage bin, and will do my second attempt of bag making. I will modify the instructions and sew it in Annie's way with Soft and Stable. Stay tuned!

Apron

This is my favorite way of apron construction, so far. 

With the strap passes through the facings, the apron can be used for people of different heights! This is so important for me, because Ben is about 10 inches higher (although this apron is not for him lol). 

Sewing Update

I have been slowly making roman shades for my house: 3 finished, 3 more on the way. The theme for our bedroom window shades is birds. There are all kinds of birds in our neighborhood and I love them! All roman shades feature prints in birds. For our master bedroom and the closet room, I chose a linen-cotton bird toil in ivory tone that matches our bedroom’s Benjamin Moor Swiss Coffee wall paint. 

I learned how to make the roman shades from a Craftsy class called Sewing Custom Roman Shades by Susan Woodcock. It’s a fantastic class! Following Susan’s instructions, I achieved great results. Recently, I also found a book called “The Shade Book” by July Lindahl. Ah! I wish I could find this book earlier! It has great contents and shows endless possibilities and variations in shade making that Susan’s class doesn’t show in her class. I highly recommend both the Craftsy Class and the shade book (out of print, check out your local library first). 

The "mistake" I made for the shades is that I didn't purchase enough fabric for two, symmetrical splices on the face fabric. So, I had only one splice, unsymmetrical and on the left side. I did match carefully at the splice to align the patterns, though. To avoid the seam to be seen, you need blackout lining, which I didn't want because I love lots of lights.

Ben did a great job in shade installation, except for one bracket he measured the screw holes 1 inch away from the correct locations and had to unscrew and relocate the bracket to the stud next to the originally proposed one (we got a stud finder for our shade installation). 

I just realized that the basting stitches are still on the shades!

All plastic rings on the back were hand-sewn. Instead of using glass head pins, I used safety pins just like how we baste a quilt before machine quilting. I placed the plastic rings rather closely at 8” apart, and at each ring location I put on a safety pin. I could then rolled and unrolled the unfinished shade without shifting the face fabric and baking. 

I have to admit that I didn’t insert a rod at the base of the shades for the 2nd and 3rd shades. I found that as I placed the rings so close together and if I pull up the shade slowly, there won’t be any puckering.

I would also like to share with you the trick of placing the shade a few inches higher, so the shade can be pull up high and clear the window to allow more lights coming in. 

The shade pleats are so nice =)